Mike Martino

Hand-built cup by Mike Martino
Stamped interior of cup
Foot of cup


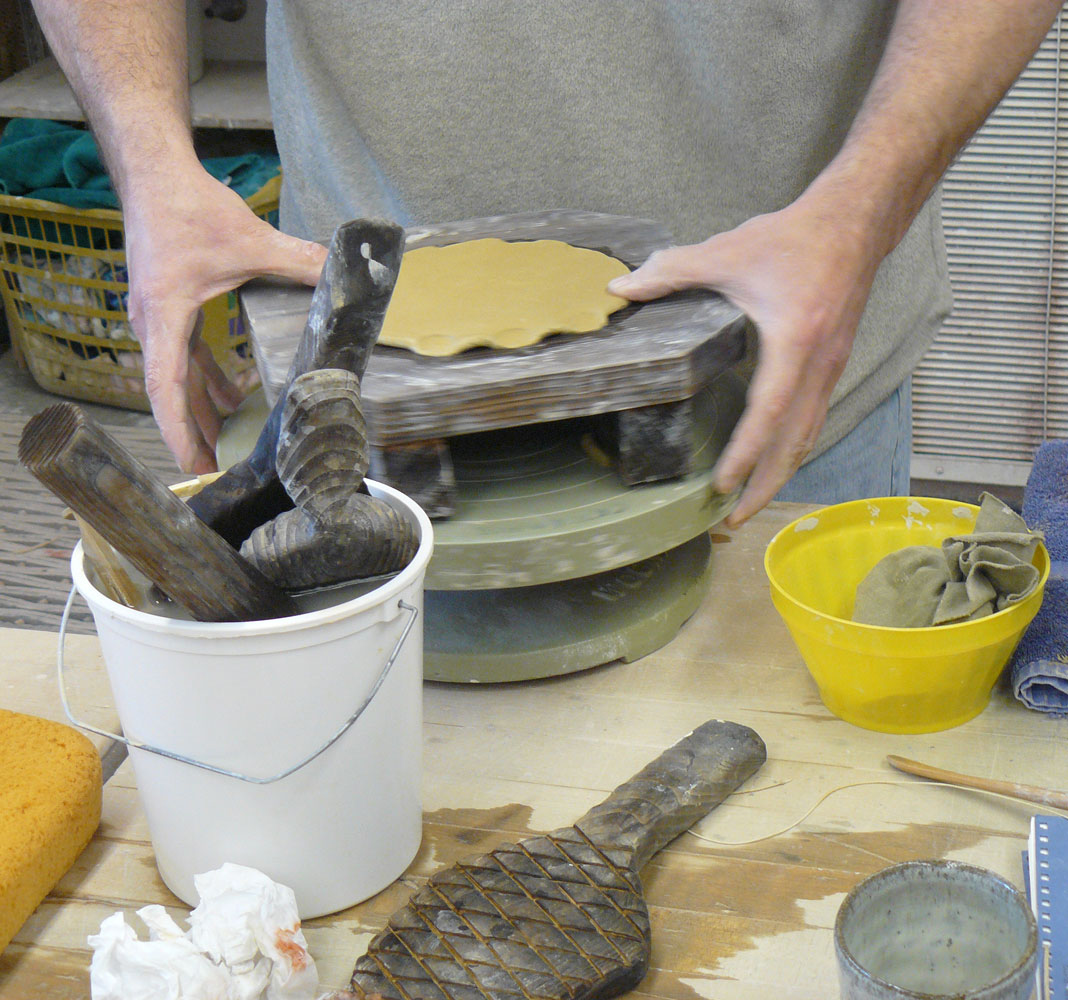
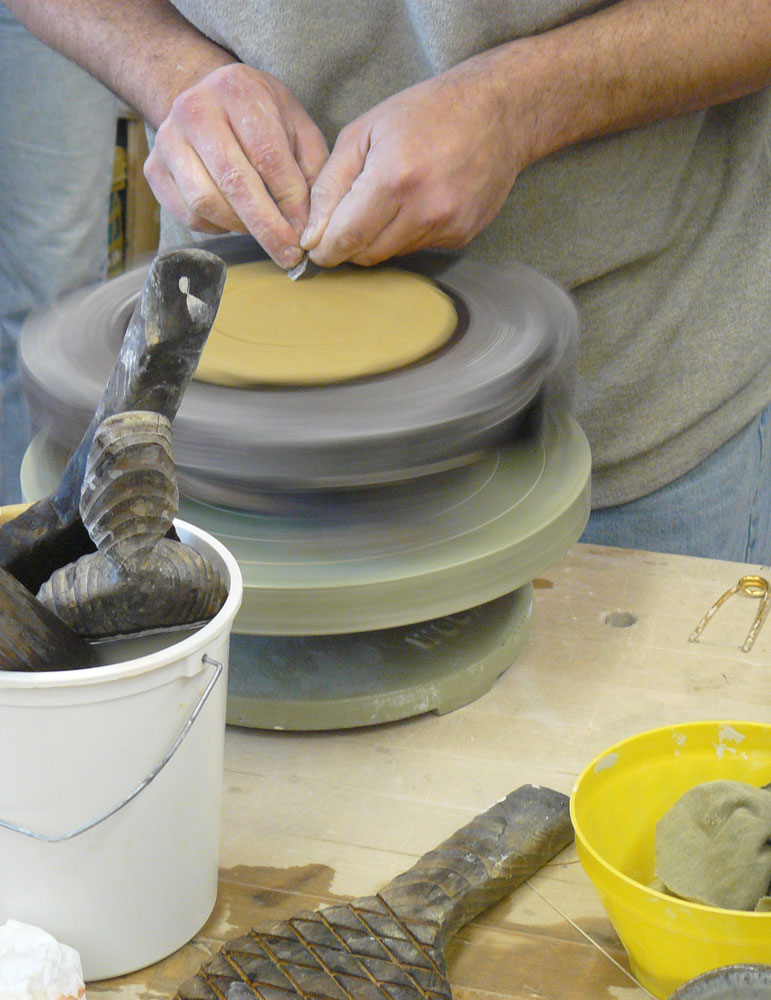
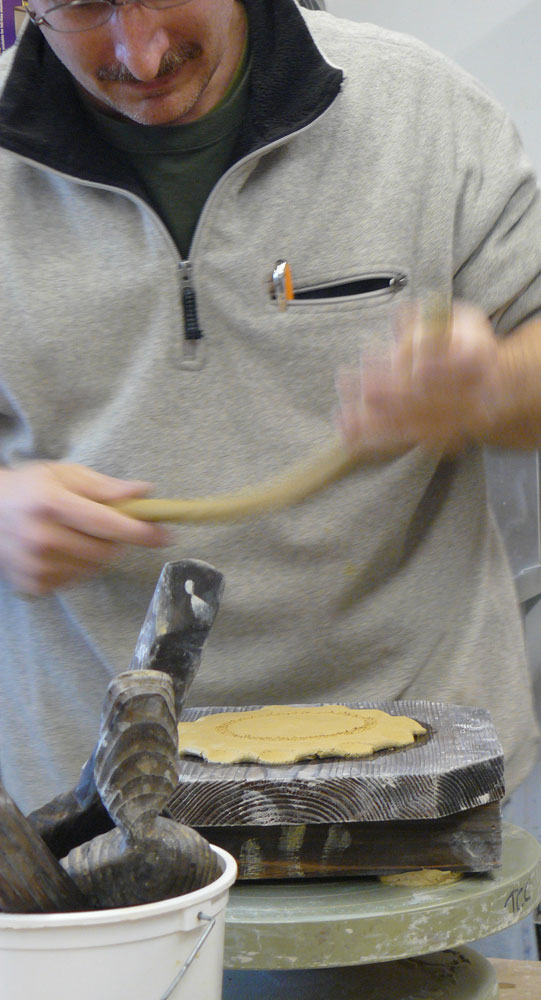
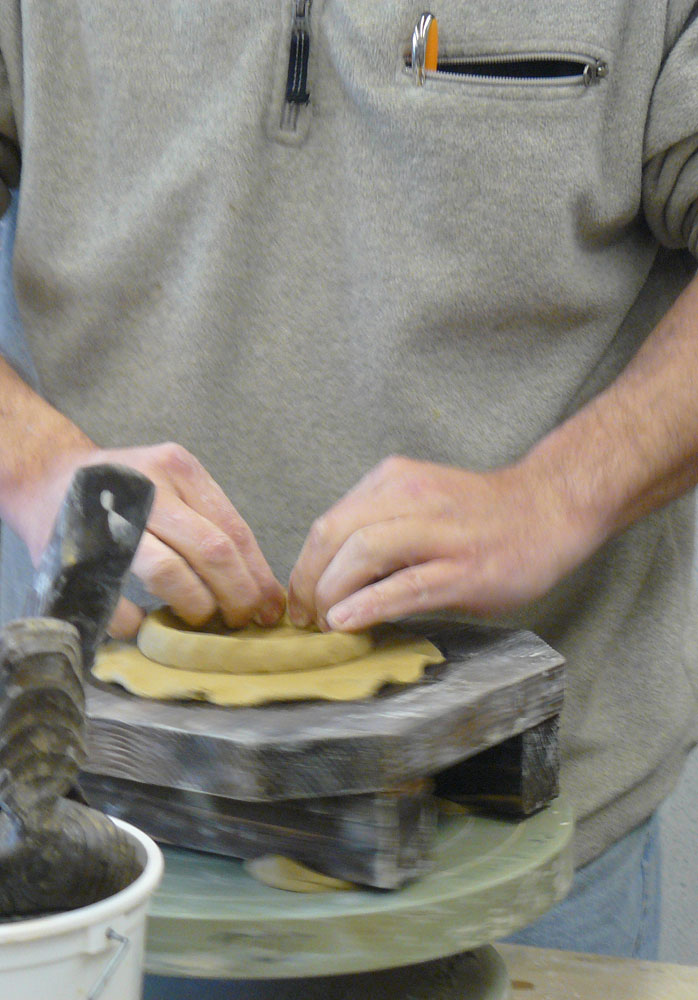
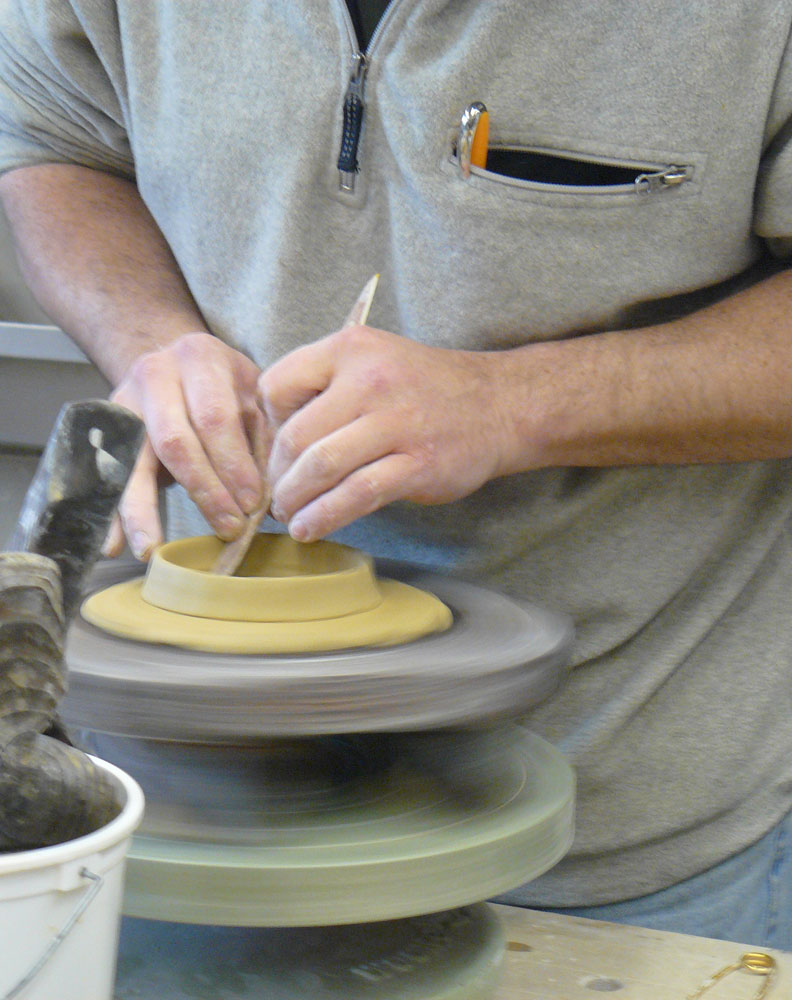
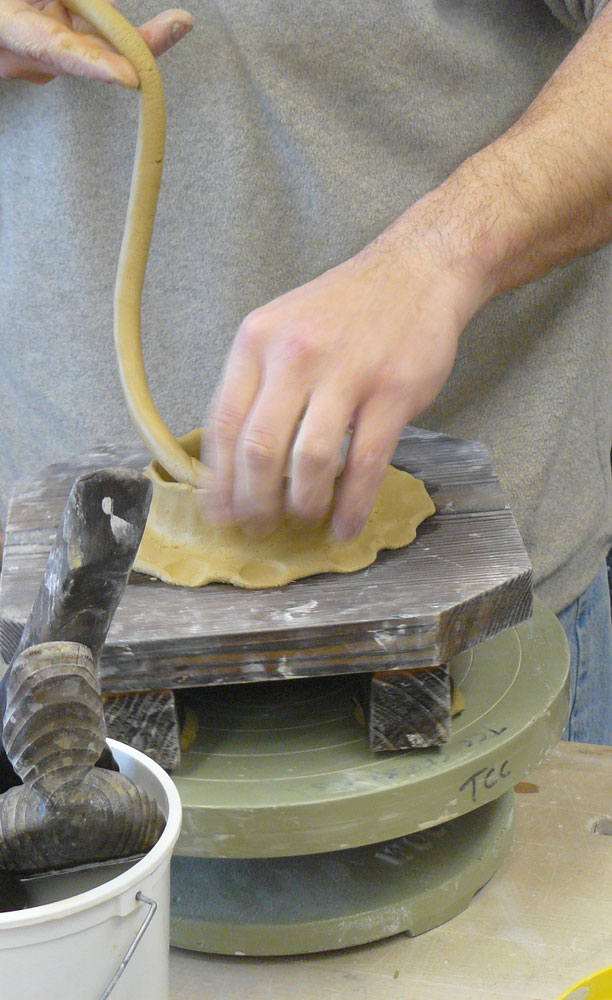
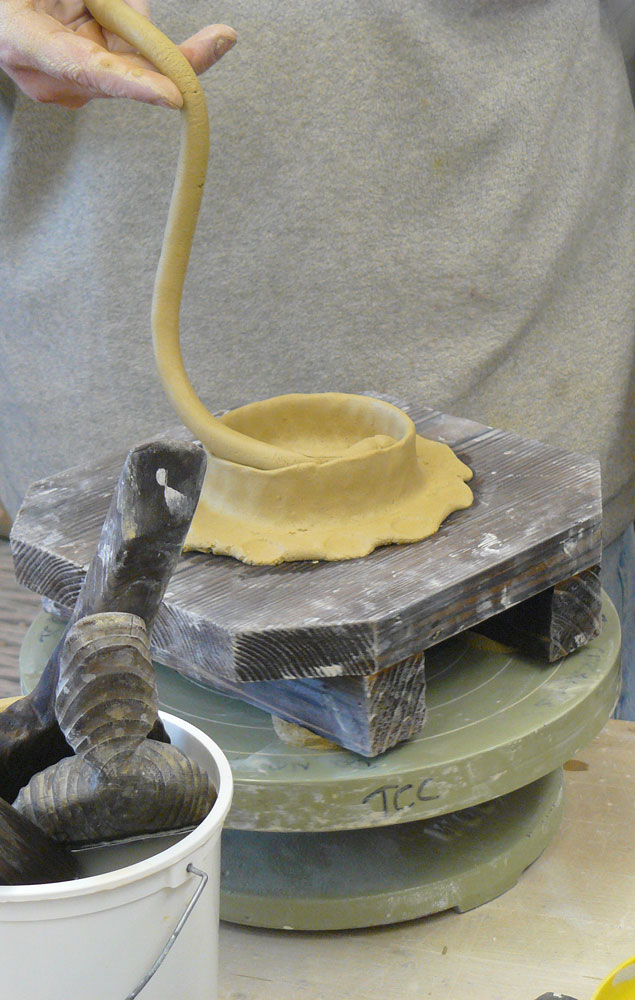
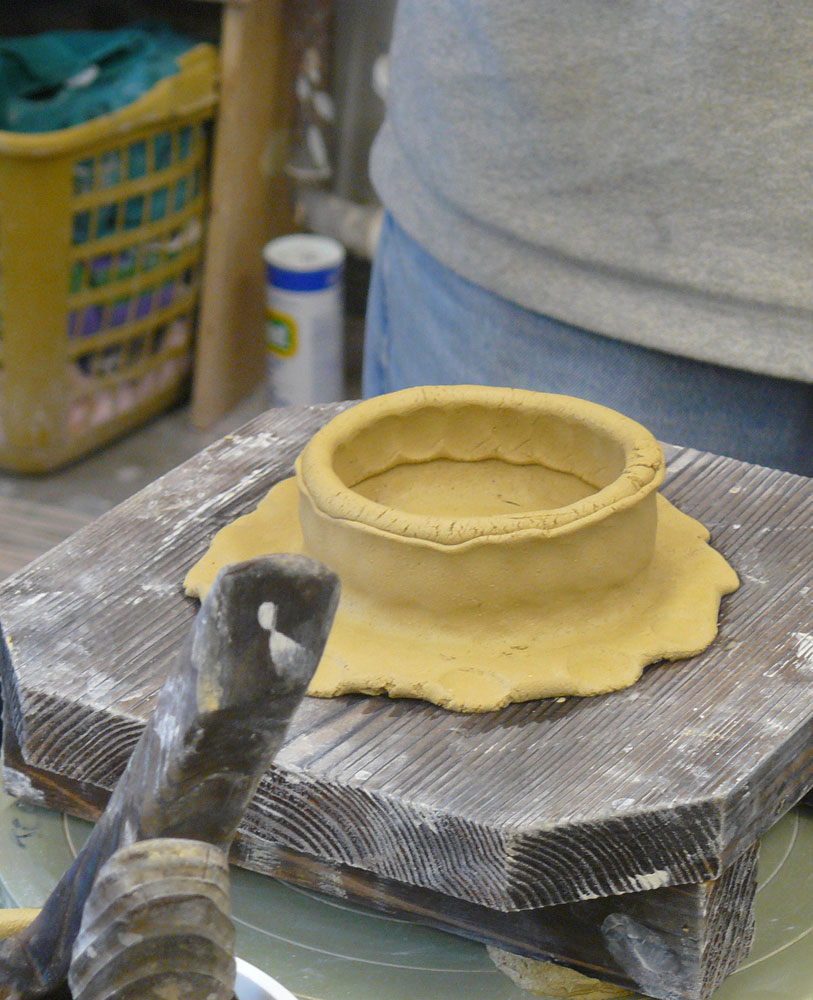
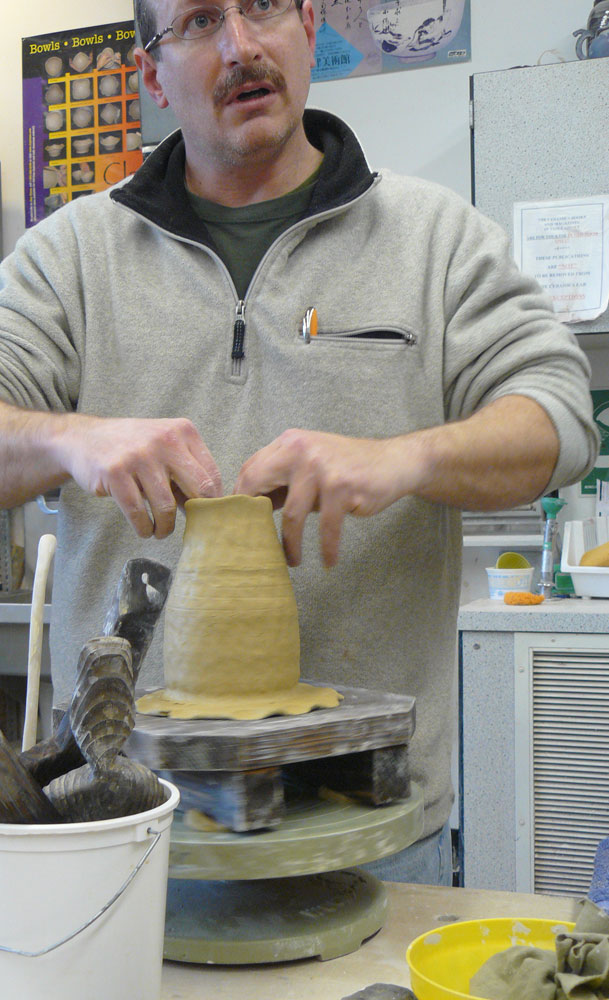
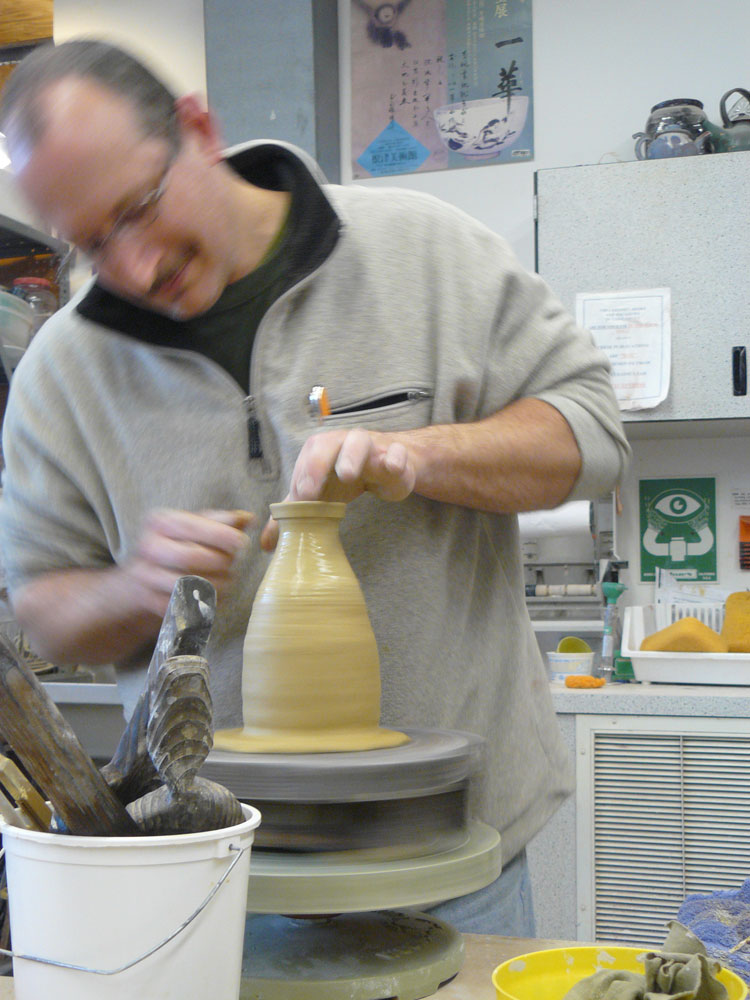
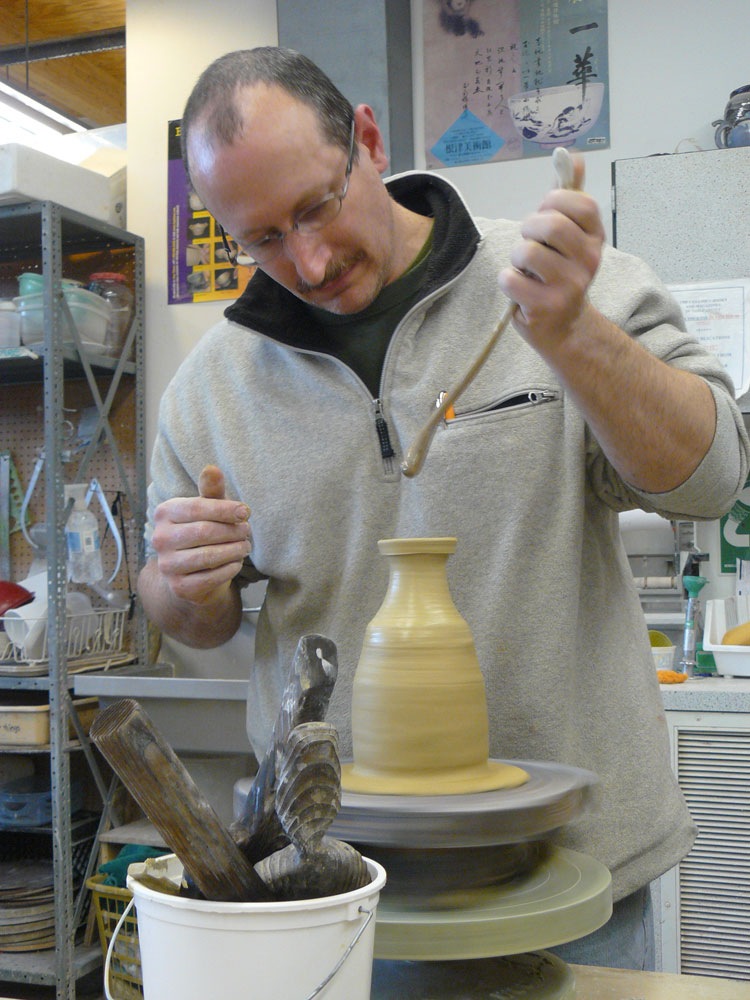
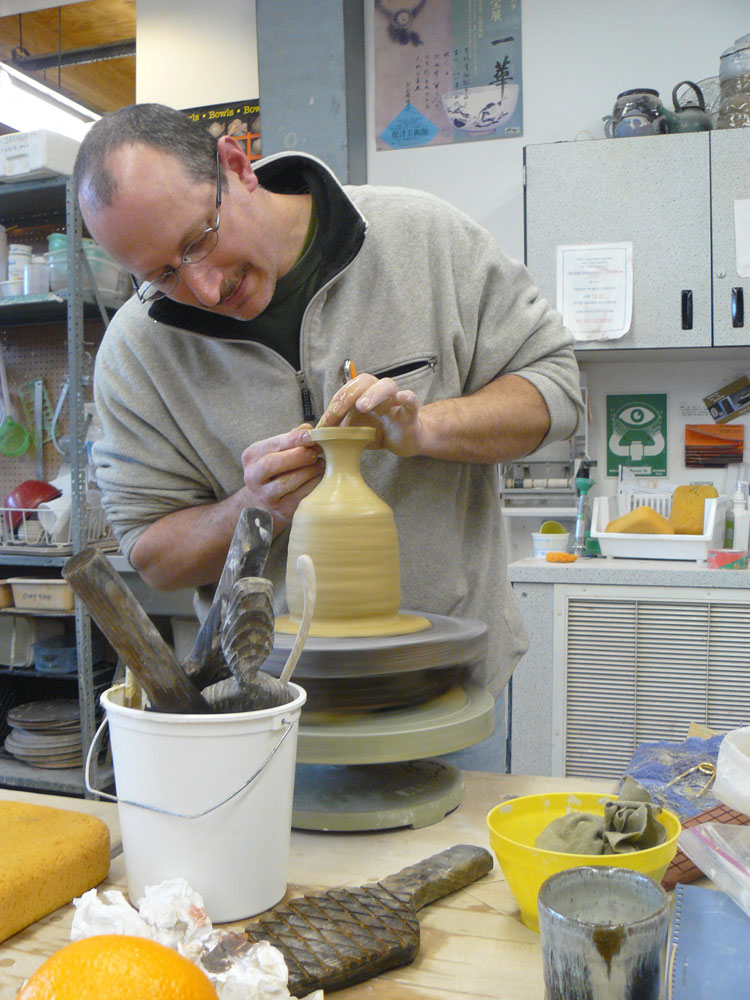
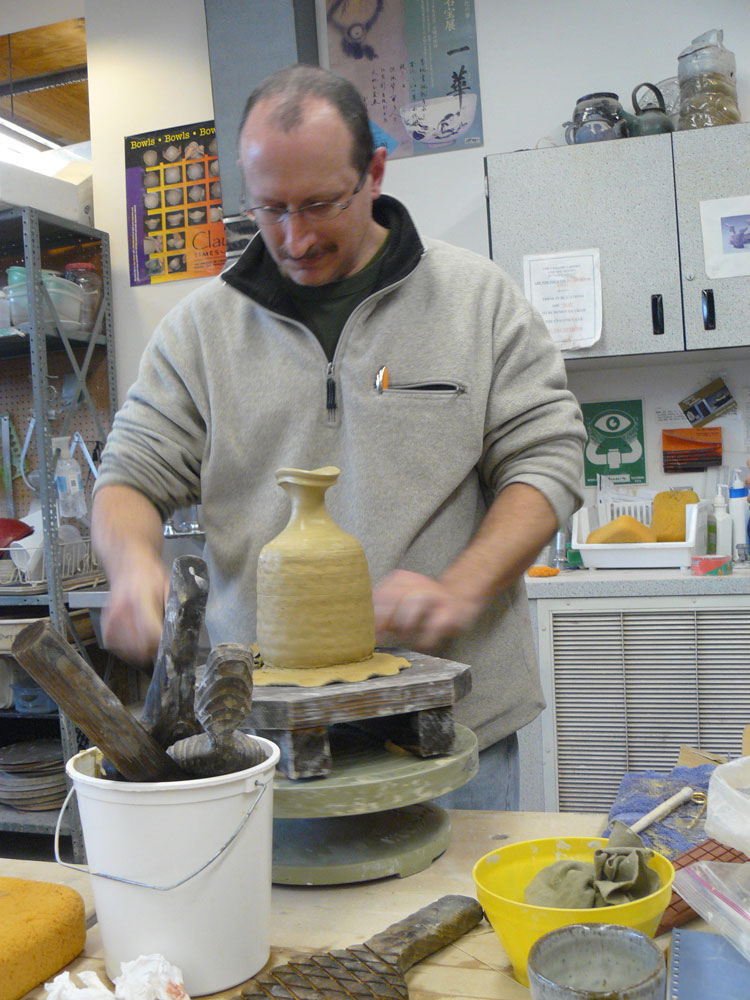
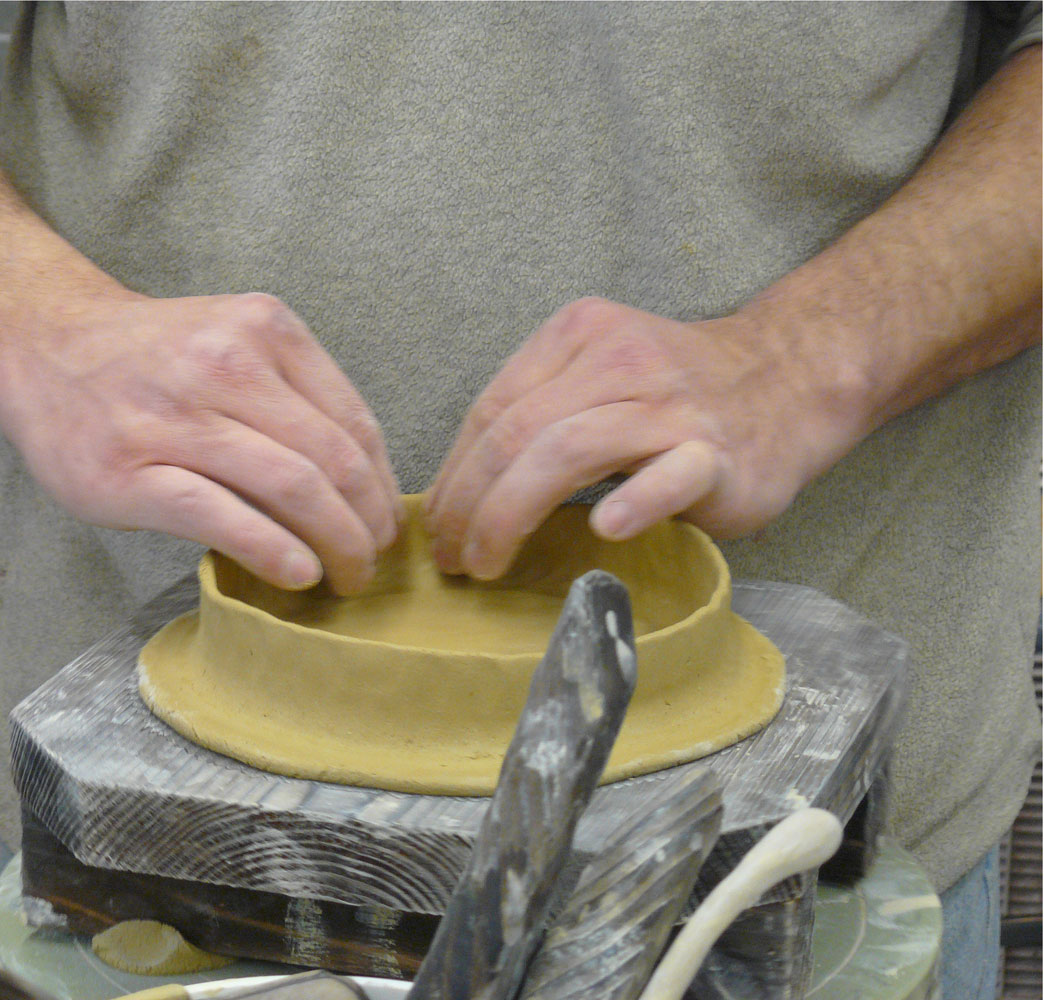
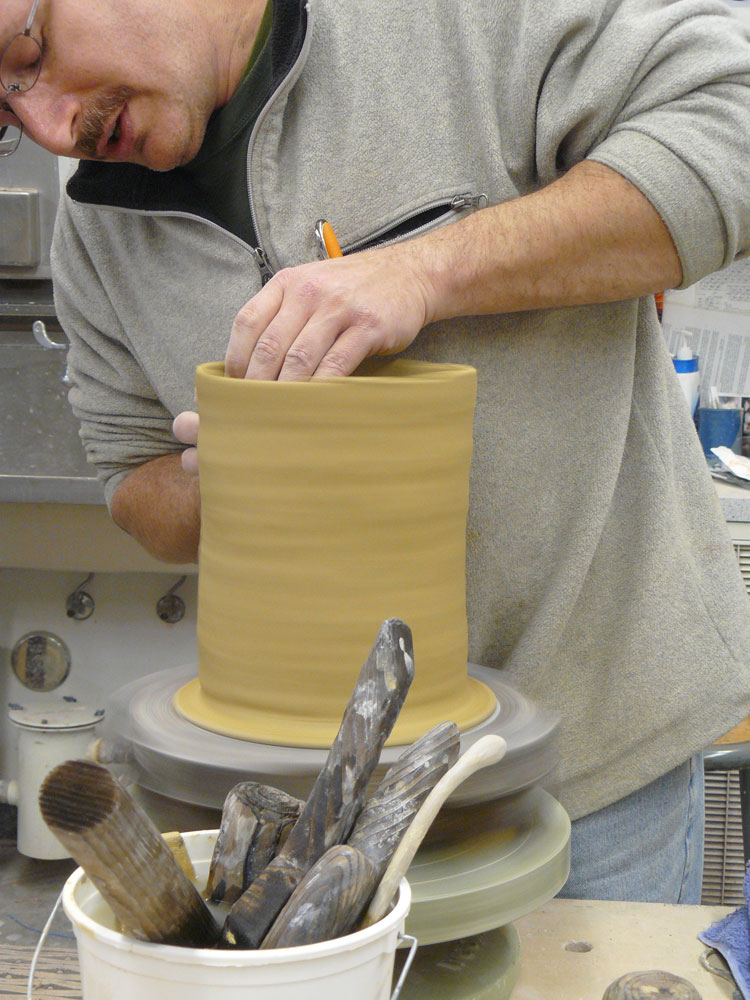
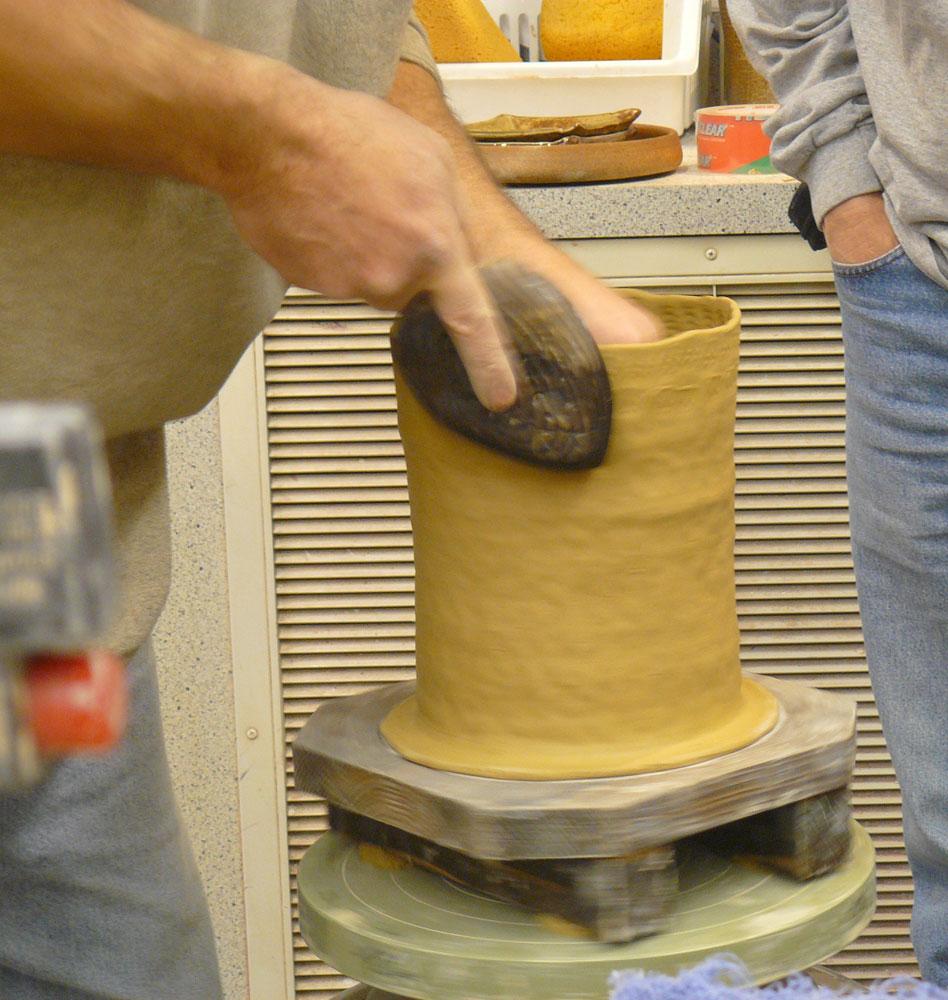
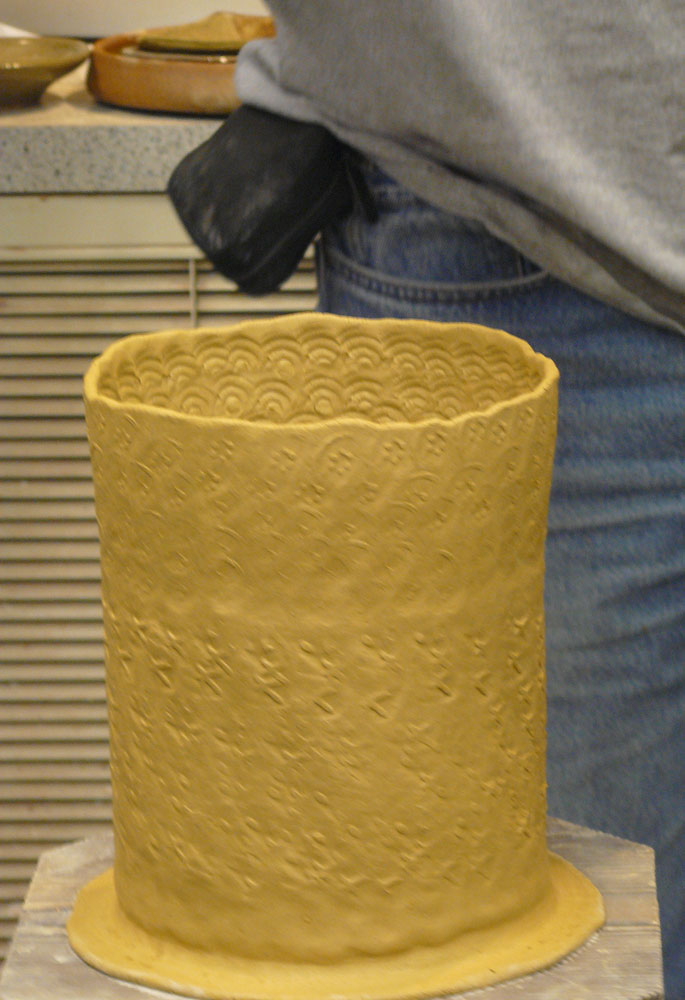
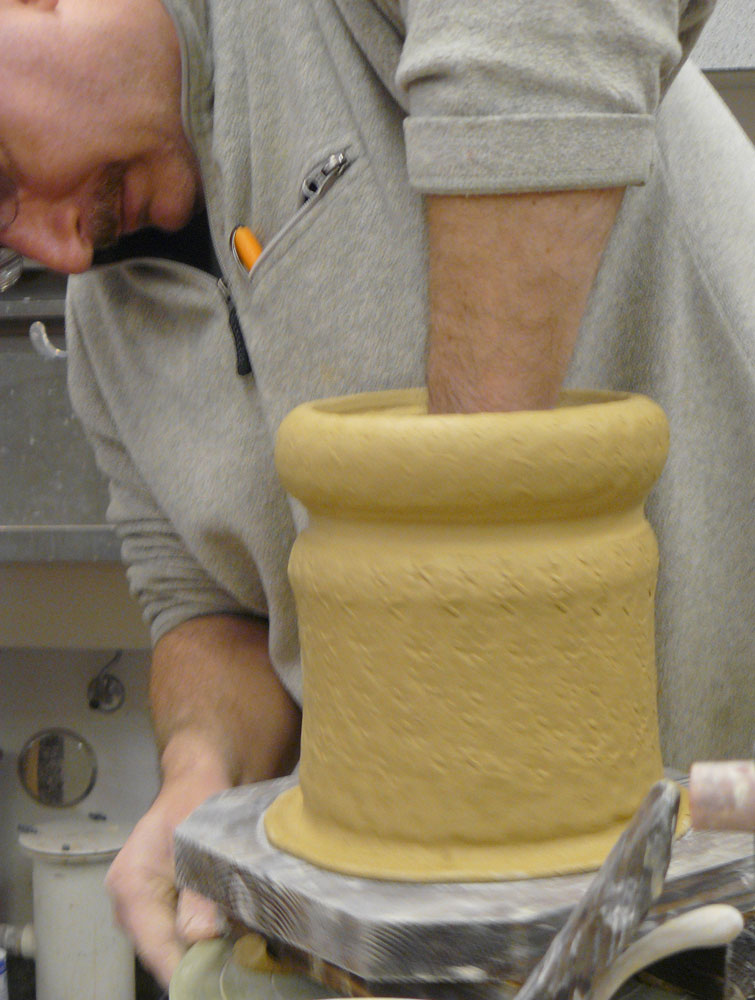
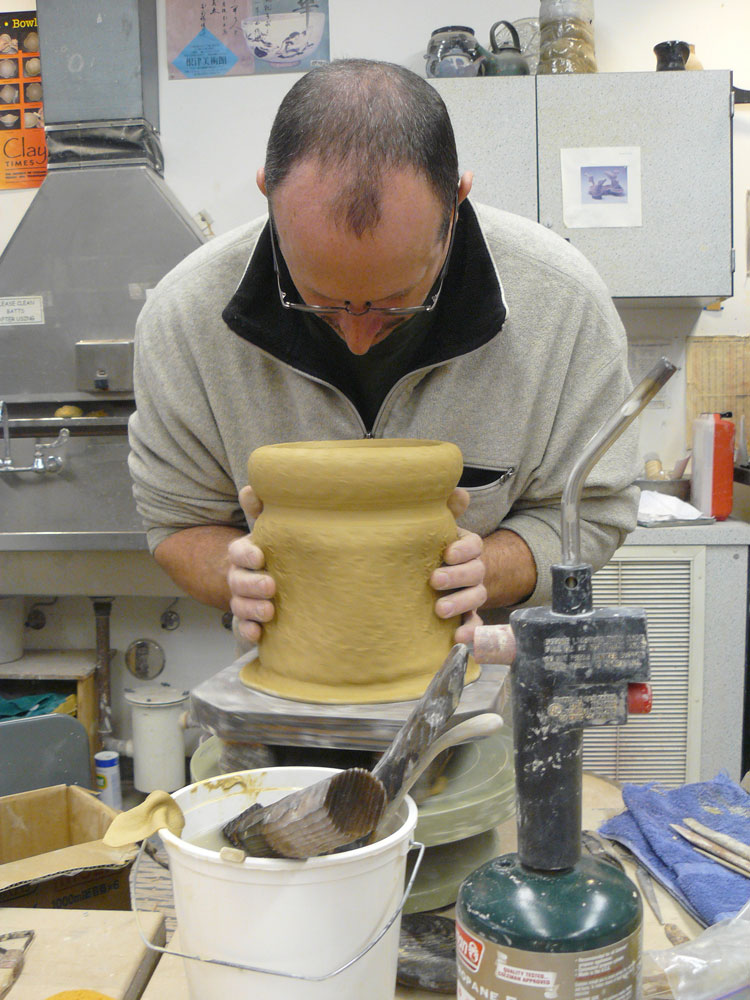
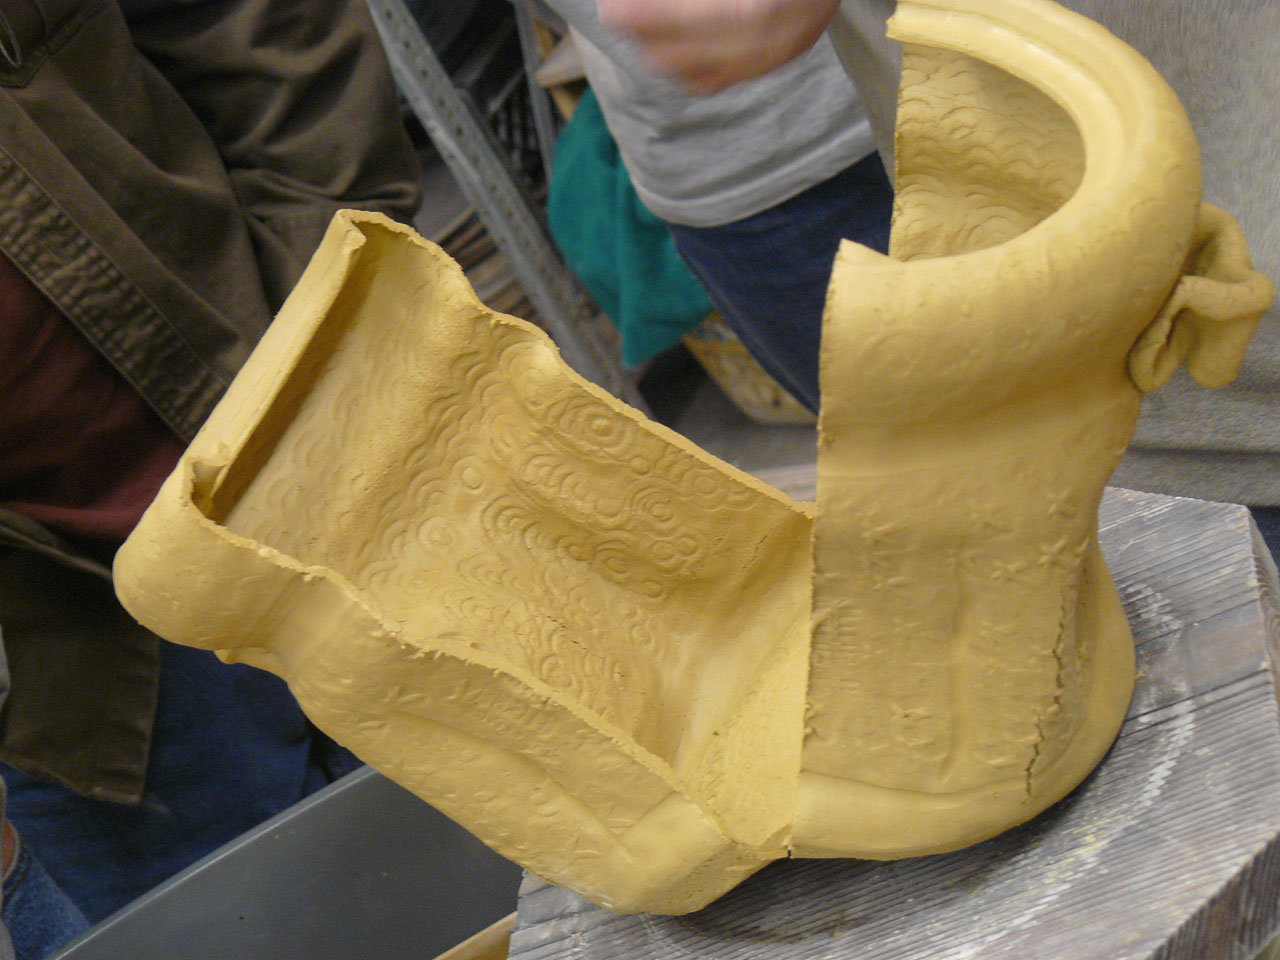
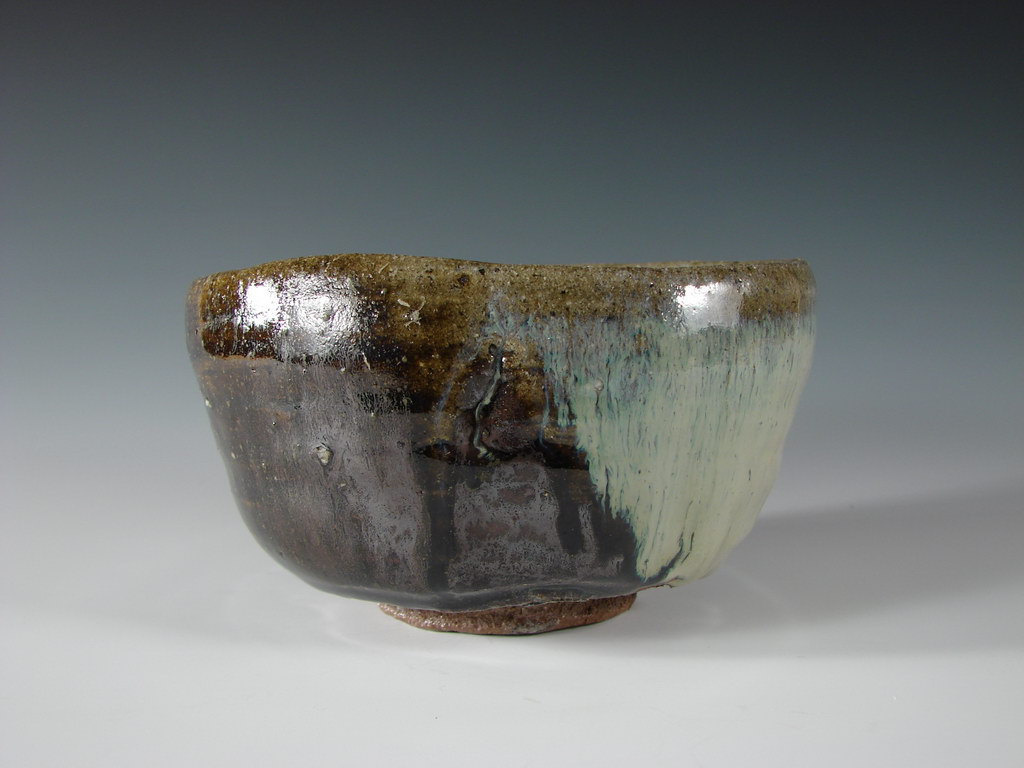
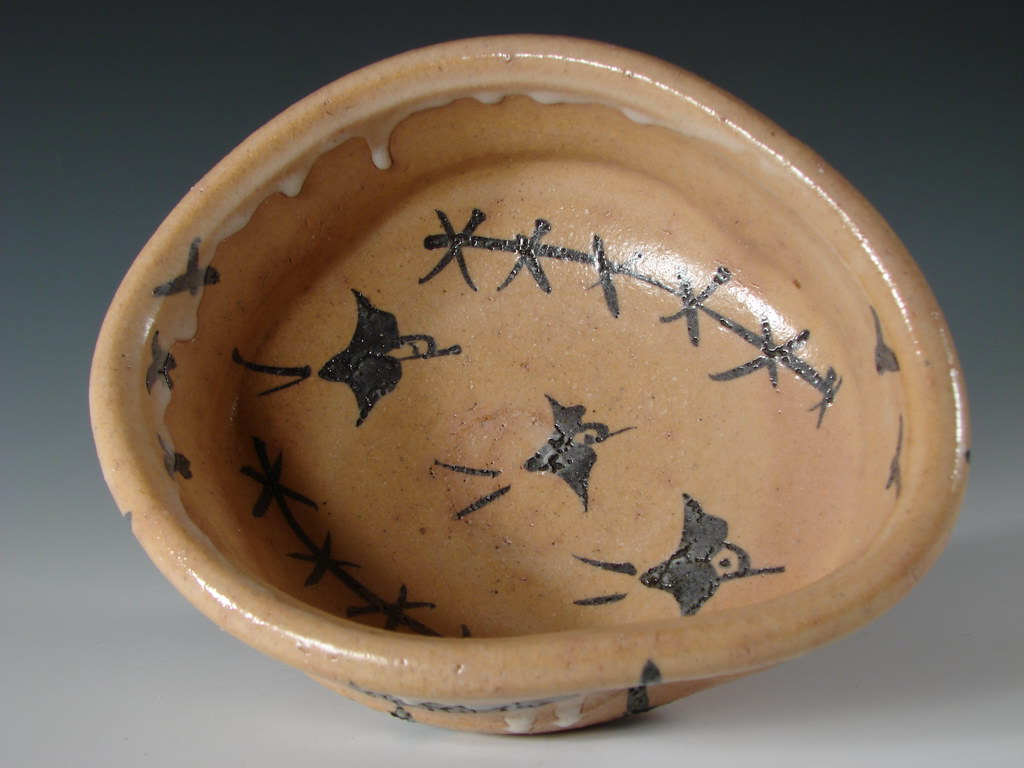
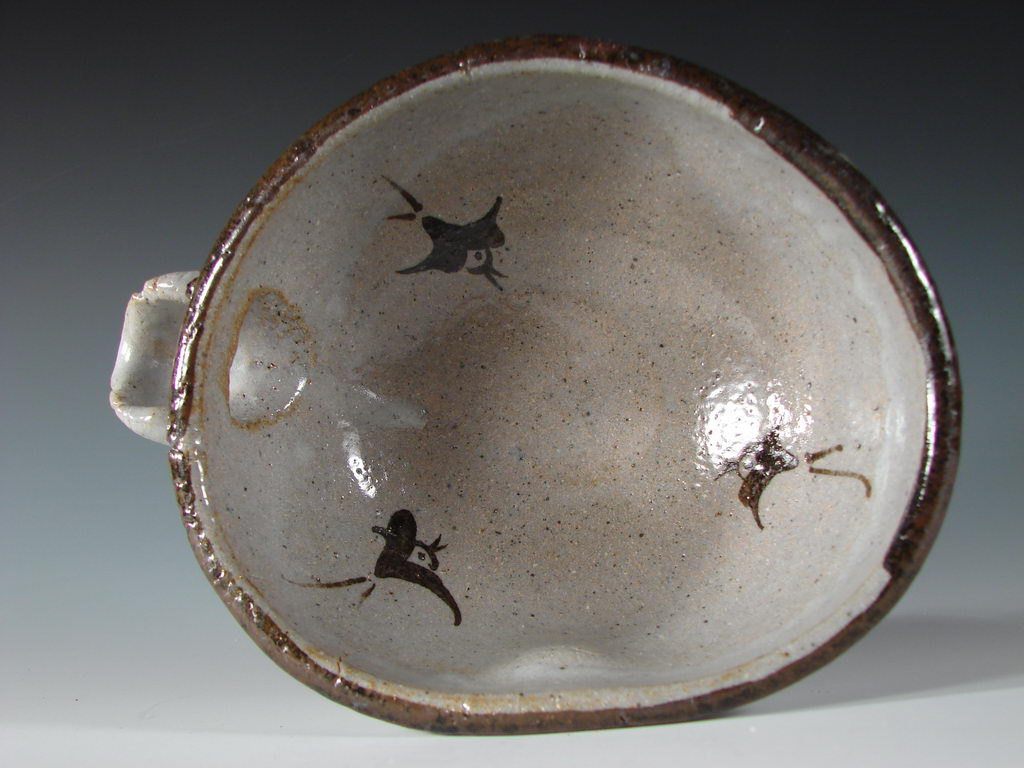
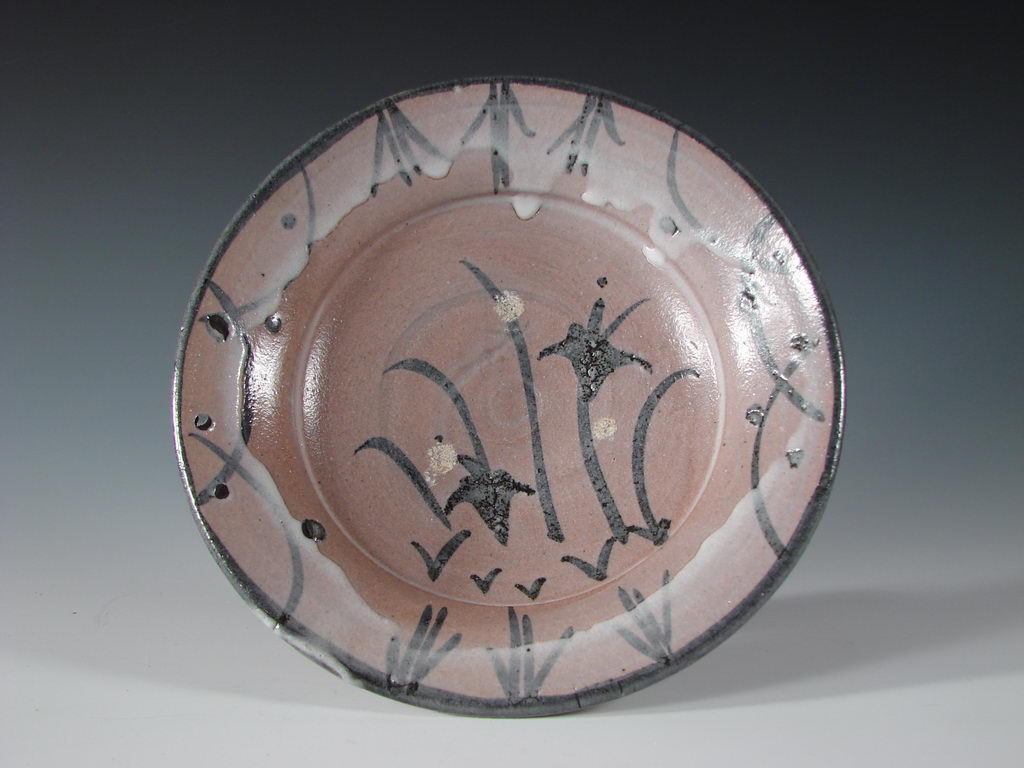
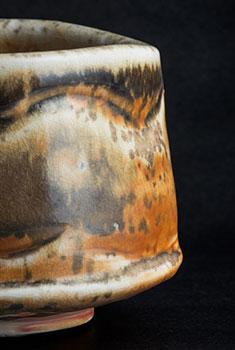
In March 2009 I had the chance to attend a workshop given by Mike Martino at Shoreline Community College. Mike shared stories of his work and time in Japan, and his knowledge of the pottery traditions of Karatsu, Japan. He was very friendly and helpful, and since then has taken the time to answer my questions regarding the names for different tea bowl shapes.

Among other things, Mike demonstrated some very cool coil building techniques. He started with a wooden bat he'd made. He'd burned the surface a little and then brushed at it to make the wood grain more pronounced, which would be impressed into the bottom of the piece, as shown in the photo of the cup's foot. He attached the bat to a banding wheel with some clay lugs, then pounded out a disk of clay that was wider than what he wanted his pot bottom to be. To prevent the clay bottom from sticking to the bat while at the same time getting it to stay in place, Mike first took a cloth bag filled with corn starch (healthier to breathe in than alumina dust) and dusted the center of the bat. He then cleaned off the excess cornstarch outside the width he wanted the pot bottom to be, dampened this outside area with a brush, placed his bottom slab down and pressed the edges into the damp ring of wood. This way the excess outer clay held the bottom in place; when finished, the excess would be cut away and the pot would lift off easily. Nifty.

Brushing water around the bottom slab for a pot
Pressing the edges of the slab down onto the wooden bat


Scoring, wetting and attaching the bottom coil proceeded in a pretty standard fashion. Mike pinched the coil thinner than you'd want to if you were stacking them one on top of the other, and then instead of setting the next coil on top, he pressed it into the top inside of the first coil. He pinched the coil to blend it in, thin it out and make the pot grow in the direction he wanted, which created a much larger stretched-out contact area between coils and a stronger wall. In this way he continued to build up the pot. I did two sample cross-sections below to better illustrate.

Scoring and wetting the bottom slab to help attach the first coil
Adding the first coil
Attaching the first coil to the bottom slab
Refining the join on the inside
Starting to add the second coil
The second coil partially in place
The second coil pressed in place
The pot completely built up
This cross-section was created by stacking coils one on top of the other and then pinching thinner. Note the narrow join between coils. If the coils weren't thinned and compressed together, the only thing holding them together would be the clay on the outsides smeared from one coil into the next.
This cross-section was made by joining coils on the inside rim of the pot, then pinching them up to the desired thickness and form. The seams between coils are long diagonals, so the coils have more surface area to grip to each other with. The red clay was noticeably stiffer than the white, so it did not blend as well as it might have.


Mike finished off a bottle shape by wetting the top and throwing it a little to get the final shape. He was careful not to let any excess water run down the sides of the pot.

Brushing a little water onto the top of the pot
Starting to neck it in
Defining the top rim
Getting a small throwing stick
Using the stick
Finishing off the rim
Cutting the excess clay away from the bottom


On a larger jar, starting from the bottom and working to the top, he paddled the sides with a textured paddle on the outside while holding a wooden anvil to support the clay on the inside. Besides adding a nice texture, it compressed and thinned the walls and stretched out the pot a bit. After paddling the pot, he squared it off and collered it in by pinching and squeezing.

Wooden anvils and a paddle
Starting the cylinder
Building up the cylinder
Paddling the cylinder walls from bottom to top
The paddled cylinder
The jar necked in toward the top and with a gallery rim added
Squaring off the jar walls
Finished jar form
Final jar cut in half


If you like handbuilding and coil and have never tried this, it's a lot of fun.

Some older photos below. To see more of Mike's work, visit his website and blog and check his Etsy shop.

Chawan by Mike Martino
A kutsugata mukozuke
Inside of kutsugata mukozuke showing bird motif
A katakuchi - a spouted bowl
Round kozara dish

time well spent

closeup view Jack Troy cup, links to Jack Troy artist page

time to explore

link to newest page of ceramic artist links, including link to Scott Parady, pictured

time flies

Link to monthly image blog